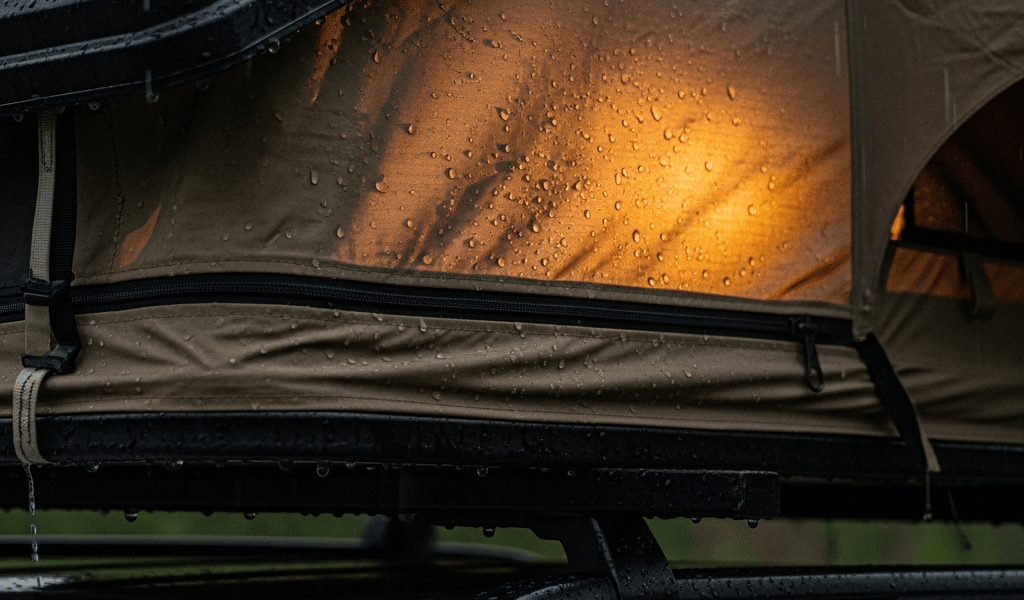
Why RTTs Leak Even When They Looked Fine at Home
Rooftop tent waterproofing has gotten complicated with all the conflicting advice flying around. Reseal everything. Replace the zipper. Buy a new tent. None of it actually helps if you don’t know where the water is getting in first.
As someone who spent two miserable nights in a Sierra Nevada downpour with water pooling on my sleeping bag, I learned everything there is to know about RTT leak diagnosis. Today, I will share it all with you.
Three separate leak sources. That’s what I found once I finally stopped guessing and started testing. And that experience taught me something the “just reseal it” crowd never mentions — RTT leaks aren’t usually one catastrophic failure. They’re a handful of small vulnerabilities that only gang up on you when conditions get genuinely bad.
Seam Tape Delamination
But what is seam tape failure, exactly? In essence, it’s the adhesive bond between the tape and fabric giving out. But it’s much more than that — it’s UV exposure, trapped moisture, years of folding and unfolding, all quietly working against the seal until rain finally finds the gap. Water running down a sidewall hits a compromised seam and follows it straight inside. Fast.
Zipper Seal Failure
Zippers were never actually waterproof on their own. They depend on storm flaps — fabric overlaps that shed water away from the slider. When the flap shifts out of alignment, or zipper teeth get packed with sand, or the Velcro holding everything in place wears smooth, water doesn’t force itself through the teeth. It sneaks in around the edges. Quietly. While you’re asleep.
Mounting Rail and Roof Interface Leaks
Probably should have opened with this section, honestly. Most people spend weeks chasing seam leaks while the real culprit is their mounting hardware. The gasket compresses flat. Clamps back off a quarter-turn over a few trips. Butyl tape dries out and cracks. Suddenly water is weeping up into the interior from below — making it look like the tent body failed when the actual problem is the connection point to the roof rack itself. That’s what makes this failure mode so maddening to us overlanders — it mimics everything else.
How to Find Where the Water Is Actually Coming From
So, without further ado, let’s dive in. You need a systematic test — not in the rain, not on a camping trip, but at home with a garden hose and enough light to actually see what’s happening.
Set your tent up on your vehicle exactly as it sits on the road. Close every zipper. Close every window. Get inside, kill the lights, and have a helper run water over different sections while you watch from inside where moisture first appears.
The Seam Trace
Start at the horizontal seams where the tent body meets the base. Run the hose slowly along each seam. Watch for penetration. Mark the exterior with tape when you find it. Move to vertical seams, then the seams around windows and vents. Most seam failures show water inside within 30 seconds of contact — sometimes faster.
The Zipper and Flap Check
Run water directly at each zipper. Watch the flap. Does it lie flat, or does it gap and lift? Can you slide a finger underneath the edge? Run your thumb along the Velcro strip — does it grip firmly, or does it feel loose and matted down? Spray the slider and flap overlap. Water sneaking under the flap edge within 10 seconds means you’ve found a zipper problem. Mark it.
The Mounting Hardware Inspection
This one requires getting under the tent with someone spraying water on top. Use a flashlight and a mirror — or just climb into the vehicle and look up at where the tent base meets your roof rack crossbars. Watch for standing water, wet foam, or drips forming at clamp locations. Give it a full 60 seconds of steady spray. Mounting leaks usually show within 45 seconds.
One detail worth burning into memory: wind-driven rain can fool you completely. Water entering a seam on the windward side can run across interior fabric and drip down on the opposite side — making you chase the wrong wall for hours. When you test, spray from the same angle the rain actually came from. Simulate the conditions that soaked you.
Fixing a Leaking Seam on a Rooftop Tent
While you won’t need a full sewing kit or industrial adhesives, you will need a handful of specific products. Seam Grip — the tan-colored fabric version, not the clear one — works well on both polyester and canvas. So does Aquaseal. Freesole is another solid option. Flex Seal is not. Don’t use Flex Seal.
Clean the seam before anything else. A stiff brush or an old toothbrush — I used a $2 one from Walmart — scrubbed along the tape removes dirt, mildew, and loose adhesive. Let it dry completely. If tape edges are already peeling, lift them gently, clean underneath, and press them back down before sealing.
Apply sealer with a small brush along the full seam length. Push it into the overlap between tape and fabric. You’re not caulking a bathtub — you want saturation into the bond line. Two thin coats work better than one thick one. Cure time runs 12 to 24 hours depending on the product and temperature.
I’m apparently someone with a heavy hand applying sealant, and Seam Grip works for me while thick single-coat applications never fully cure right. Don’t make my mistake. Thin passes. Patience.
If seam tape is lifting more than half an inch or the underlying fabric has cracked, sealer won’t hold. You need a patch. Tear-Aid makes RTT-specific patch kits — around $15 to $20 depending on color — and their instructions are worth following exactly. Not optional if the base fabric is compromised.
Fixing a Leaking Zipper or Zipper Flap
First, you should clean the zipper teeth — at least if you’ve driven any dirt roads recently. Sand and grit pack into the teeth and prevent the slider from seating flush. A toothbrush handles it. Then lubricate with a silicone spray like CRC 6-36 or a dry Teflon-based product. Work the slider up and down ten times. Wipe the excess. Wax and grease attract grit. Silicone doesn’t.
Check flap alignment next. The fabric overlap should cover the zipper gap by at least half an inch — if it’s shifted short of that, water will find the edge. Repositioning a misaligned flap usually means loosening a few stitches at one end, resetting the overlap, and re-stitching by hand. Not complicated. Takes maybe 20 minutes and a curved needle.
Adhesive-backed Velcro might be the best option here, as flap replacement requires a reliable bond. That is because worn Velcro — the fuzzy, grip-nothing kind — is often the actual reason flaps gap under wind-driven rain. Peel off the old strip. Clean the residue with rubbing alcohol. Cut new Velcro to match the original dimensions exactly. Hook side on the flap, loop side on the tent body. Press firmly and give it an hour before use.
For field repairs on the road, a bead of Seam Grip along the bottom flap edge where it meets the tent body stiffens the seal and buys time. That was a lesson from mile 200 of a desert trip. Not permanent — but it works until you get home.
Stopping Leaks Around the Mounting Rail and Roof Interface
This is the section that answers questions nobody else addresses. So, without further ado — water pooling under your tent during rain usually isn’t a tent problem at all.
Check the base gasket first. Run your fingers along the rubber or foam seal around the tent base perimeter. Rock-hard and no longer compressible means it stopped sealing a while ago. Replacement gasket foam from a hardware store — closed-cell, about 3/8-inch thickness — runs roughly $6 to $10 for a full roll. More than enough.
Butyl tape is the fix most people skip entirely. It’s a sticky, putty-like tape used in roofing and RV weatherproofing. 3M sells it for around $8 to $12 per roll. Apply a fresh bead along the tent base perimeter underneath, where it contacts your rack. Press the tent down firmly so the tape seats into every gap. Clamps that have backed off a quarter-turn over two or three trips will leave gaps too small to see but large enough to weep water steadily.
Tighten clamps firmly — a quarter-turn past snug — but not past that. Overtightening warps the mounting rail against the roof unevenly and actually creates new gaps. Check clamp tension after the first two trips. They loosen. Every time.
If water persists after fresh gasket and butyl tape, the issue might be the roof geometry itself. Some vehicles have mounting positions where water naturally pools. A bead of silicone caulk around the base perimeter underneath the tent creates a dam that redirects water away from the mounting interface. Test it first with the hose before committing — silicone is permanent enough that you want to confirm placement before it cures.


Stay in the loop
Get the latest trail owl updates delivered to your inbox.